
Warning: Cannot modify header information - headers already sent in /home/u278635817/domains/mymorninglife.com/public_html/wp-content/plugins/artigosgpt/artigosgpt.php on line 29509
Warning: Cannot modify header information - headers already sent in /home/u278635817/domains/mymorninglife.com/public_html/wp-content/plugins/artigosgpt/artigosgpt.php on line 29509
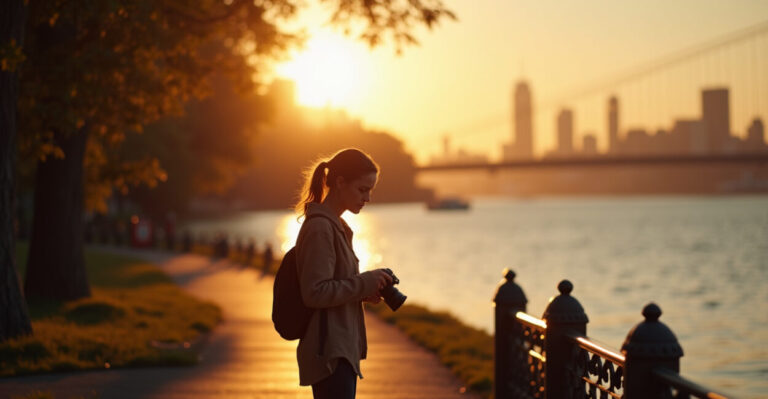
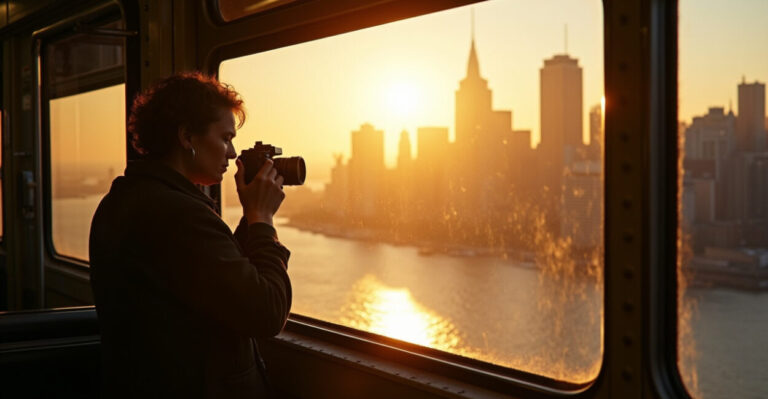
The city noise fades, you step onto a ridge, and suddenly the skyline, river, or coastline sprawls beneath you like a postcard — that’s the pull of panoramic hikes. These are not multi-day expeditions; they’re short climbs that repay sweat with a view so immediate you want to text it to everyone. Read on for seven routes near major towns that deliver that exact moment: distance, effort, best season, and a secret vantage so your photos look like you hired a drone operator.
1. Ridge Overlook — 3.2 Miles from the City Center
Distance: 3.2 miles round-trip. Effort: Moderate, 450 ft ascent. Best time: Golden hour in late spring.
The trail starts in an unexpected suburb and climbs through oak shade to a sun-swept ridge. In ten minutes the noise muffles; in twenty, the view opens. This is the hike you do after work when you need a reset.
- Secret vantage: a narrow rock ledge 50 yards past the summit — face west for a layered-sky photo.
- What to bring: light jacket, water, phone tripod.
2. Harbor Head Path — 2 Miles with Coastal Panoramas
Distance: 2 miles loop. Effort: Easy, mostly flat with one short incline. Best time: Early morning to catch the mist lifting.
The path skirts cliffs and salt-tolerant scrub. Fishermen launch small boats below while commuters cross bridges miles away — it’s city and sea in one frame. Expectation: postcard sunset; reality: dramatic clouds and reflective water if you go pre-dawn.
- Secret vantage: the bench hidden behind a rhododendron patch — low angle captures the leading line of the bay.
3. Twin Peaks Spur — 1.8 Miles, Steep Reward
Distance: 1.8 miles out-and-back. Effort: Strenuous uphill with stairs. Best time: Autumn for clear air.
Short, sweaty, unbeatable. The last 0.2 mile is a stair climb that feels like cheating once you reach the top: the city sprawls between two domes like a model railway. This trail is proof that steep + short often beats long + flat for instant payoff.
- Secret vantage: the left dome’s west lip — shoot downward to make the river look wider and the city smaller.
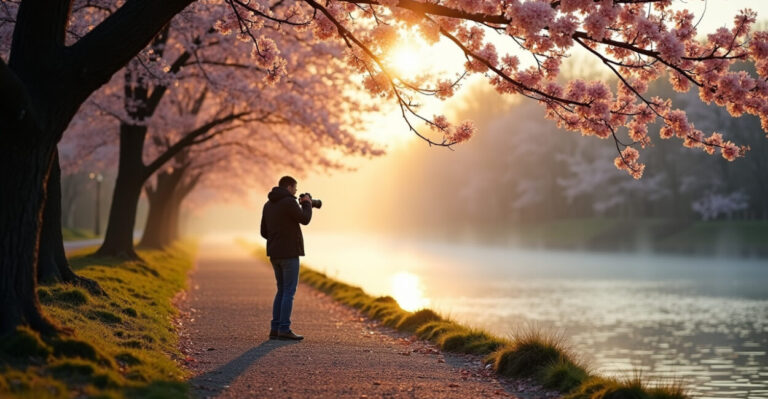
4. Meadow Lookout Loop — 4.5 Miles, Family-friendly Panorama
Distance: 4.5 miles. Effort: Easy-moderate with rolling hills. Best time: Late spring for wildflowers.
The loop crosses blooming meadows before a gentle rise to a wooden platform. Kids and dogs handle it fine, yet the platform delivers a sweeping valley view worthy of a longer trek. If you want big scenery without a big commitment, this is the one.
- Secret vantage: climb the platform’s small fence ledge (carefully) for a panoramic frame that includes the patchwork fields.
- Bring: binoculars — birdlife is active at dawn.
5. Quarry Rim Trail — 2.7 Miles, Dramatic Rock Faces
Distance: 2.7 miles. Effort: Moderate with rocky footing. Best time: Winter afternoons for crisp light.
What was once a quarry is now a rim walk with sheer drops and reflective pools below. The geology gives depth and texture to shots, and the contrast between exposed rock and distant city makes every photo feel editorial. This one reads like an adventure magazine spread even though you’re back before dinner.
- Secret vantage: a flat boulder jutting over the quarry — silhouette subjects against the city skyline for dramatic portraits.
6. Ridge-to-Lake Connector — 3.6 Miles, Sunrise Favorite
Distance: 3.6 miles point-to-point. Effort: Moderate, some switchbacks. Best time: Sunrise, year-round.
Start on a ridgeline, descend through pines, and finish at a placid lake that mirrors the sky. The contrast of ridge-to-water in a single hike is rare and photogenic. If you like symmetry, aim for glassy water after a windless night.
- Secret vantage: a small causeway on the lake’s eastern shore — center the reflection and use a low kneeling angle.
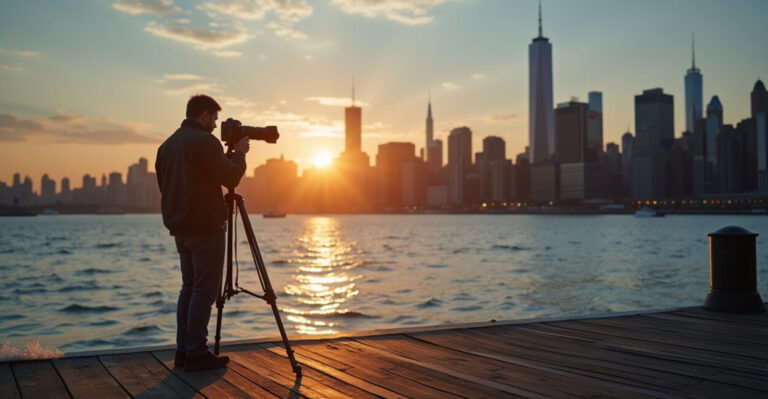
7. Urban Bluff Ascent — 1.1 Miles, Steep and Iconic
Distance: 1.1 miles. Effort: High intensity—steep, paved sections. Best time: Any clear evening for city lights.
This is the one locals brag about: short, brutal, and the reward is the city at your feet. You see neighborhoods you pass daily from a new, humbling angle. Do it fast for a workout or slow for sunset photos; either way, you’ll feel accomplished.
- Secret vantage: a narrow overlook just past the top — tilt your camera slightly for converging light lines of streets.
Common mistakes hikers make on short panoramic hikes:
- Underestimating footing: short doesn’t mean easy—rocky trails cause most slips.
- Wrong timing: arriving mid-afternoon often yields harsh light; aim for golden hour or blue hour.
- Gear gaps: no tripod, no wide lens — you sacrifice framing options for quickness.
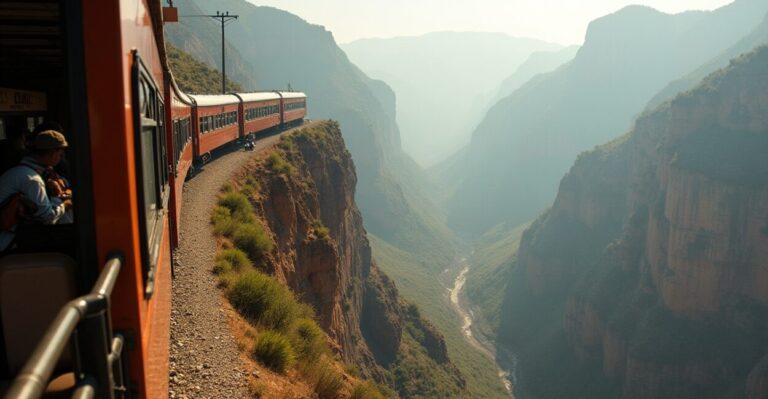
Quick comparison: a two-hour panoramic hike vs. a full-day trek. The two-hour route trades distance for intensity and immediacy — you reach a dramatic viewpoint fast and your photos look like an overnight adventure. A full-day trek gives depth, but it asks for commitment. For city-edge hikers, short is usually sweeter.
Sources that informed these route suggestions include regional trail maps and conservation data. For terrain and seasonal closures, check local park services like National Park Service and academic trail studies such as those hosted by USDA Forest Service. These sites update access and safety advisories frequently.
Before you go: take a moment to respect the landscape. Pack out trash, stay on designated paths, and be mindful of wildlife. The best view is the one that survives for everyone else to find.
A final provocation: after seven short hikes, the city will feel smaller and the horizon larger. Which view will change how you see your town?
How Do I Choose the Right Panoramic Hike for Limited Time?
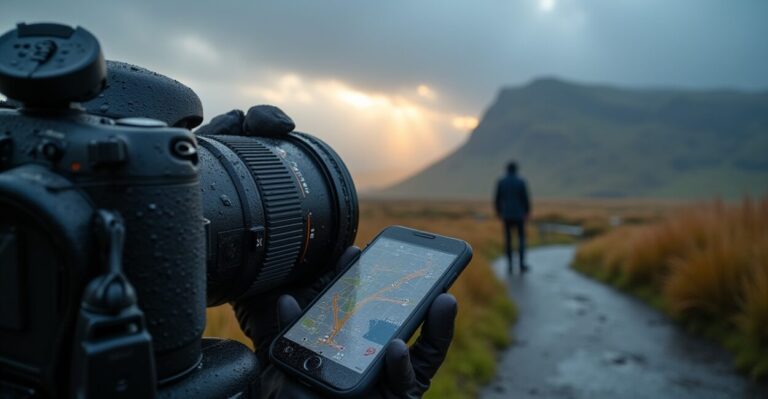
Start by matching effort to schedule: if you have under two hours, prioritize hikes labeled short or steep that summit quickly. Check the route’s distance, elevation gain, and trail surface — rocky or stair-heavy paths require more time per mile. Consider lighting: golden hour adds 20–30 minutes of value to photos, so plan arrival accordingly. Also factor transportation; point-to-point hikes need shuttle or return plans. Finally, pick one with a clear secret vantage in the description so you maximize photo payoff without trial-and-error.
What Gear is Essential for These Short Panoramic Hikes?
For short panoramic hikes, pack light but smart. Essentials include a small daypack, at least 1 liter of water, a windproof layer, sturdy shoes with grip, and a phone or mirrorless camera. Bring a compact tripod or tabletop tripod for low-light sunrise/sunset shots. Extras: a micro-fleece, a headlamp if timing is tight, and spare batteries or power bank. Don’t forget a small first-aid kit and a permit or parking pass if the area requires one — the right small items prevent big headaches.
When is the Best Time of Year to Attempt These Routes?
Season choice depends on which panorama you want. Late spring brings wildflowers and softer light for meadow and ridge walks; autumn offers the clearest air, making cityscapes pop; winter can be stunning for crisp reflections and fewer crowds but requires traction and warmer layers. Coastal routes often shine at dawn year-round but are windy in winter. Check local park advisories for closures or seasonal hazards. Ultimately, choose based on light and your comfort with weather — the same trail can feel completely different across seasons.
Are These Hikes Safe for Beginners or Children?
Many of these routes are beginner-friendly, but safety depends on specific trail conditions. Look for hikes labeled easy or family-friendly, like the Meadow Lookout Loop; avoid steep spurs or exposed bluffs with young kids unless you’re experienced and attentive. Carry basic safety items: water, snacks, a charged phone, and a whistle. Teach kids trail etiquette — stay on the path and away from edges. If a section is rocky or narrow, consider turning back; short hikes should be enjoyable, not risky.
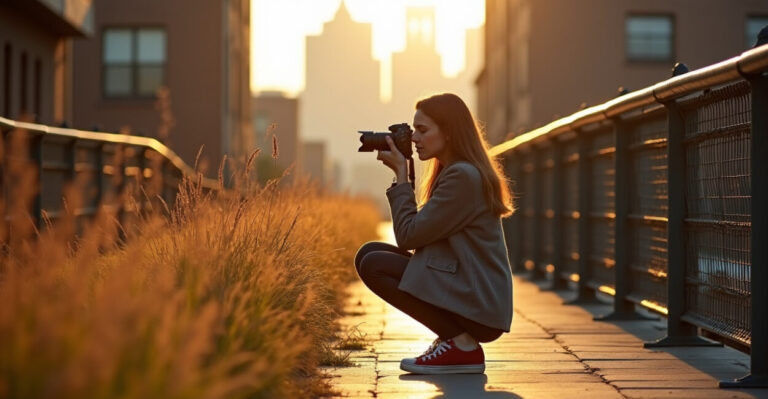
How Can I Take Better Photos on Panoramic Hikes Without Professional Gear?
Great photos rely more on light and composition than expensive equipment. Use your phone’s HDR and panorama modes; arrive during golden hour for soft, directional light. Include a foreground object — a fence, rock, or person — to add depth. Try different angles: crouch low for reflections, climb a small ledge for a wider sweep. Use a small tripod and a timer or remote for sharp low-light shots. Finally, edit modestly: boost contrast, adjust shadows, and keep colors natural to preserve the scene’s atmosphere.