
Warning: Cannot modify header information - headers already sent in /home/u278635817/domains/mymorninglife.com/public_html/wp-content/plugins/artigosgpt/artigosgpt.php on line 29509
Warning: Cannot modify header information - headers already sent in /home/u278635817/domains/mymorninglife.com/public_html/wp-content/plugins/artigosgpt/artigosgpt.php on line 29509
Rain or shine, there’s a moment on a trail when a family, a solo traveler or someone in a wheelchair reaches a ledge and expects the world to open up. Those moments are what make accessible viewpoints more than an amenity — they decide whether the outing becomes a memory or a headache. In the next scroll you’ll get a clear comparison between fully accessible viewpoints and traditional overlooks: ramps, sightlines, proximity to facilities and real family comfort.
Why Accessible Viewpoints Change the Game — Fast
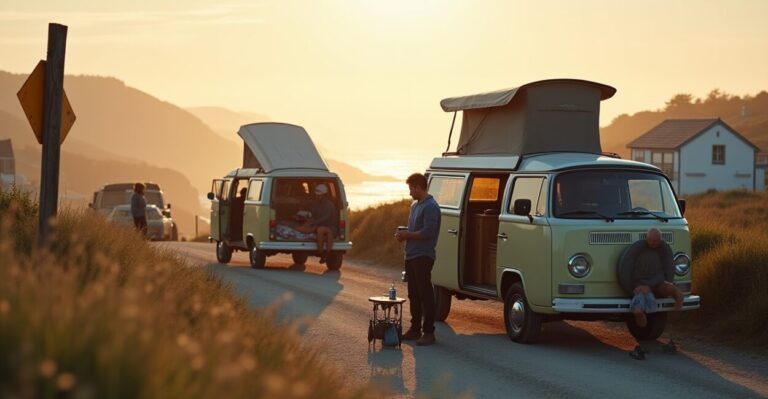
Accessible viewpoints turn “maybe” into “yes.” For many people mobility is the reason a trip is possible or not. A smooth ramp, level viewing platform, and unobstructed sightlines mean grandparents, parents with strollers, and visitors using mobility aids actually get the view — not just the story about it later. In practice that increases visit satisfaction, length of stay, and word-of-mouth recommendations. Parks that invested in universal access often see more repeat visitors and longer on-site spending.
The Anatomy of a Truly Accessible Viewpoint
Good design is specific. A fully accessible viewpoint typically includes: a gentle ramp (max 1:12 slope), firm non-slip surface, at least 36–48 inch clear paths, railings with cutouts for viewing, seating with backs and armrests nearby, and nearby restrooms and parking. If one of these elements is missing, the experience is compromised. Sightlines matter: a low barrier with viewing slots beats a high wall. Proximity to parking and toilets turns a strenuous half-mile scramble into a fifty-yard stroll for many families.
Expectation Vs. Reality: Traditional Overlooks Exposed
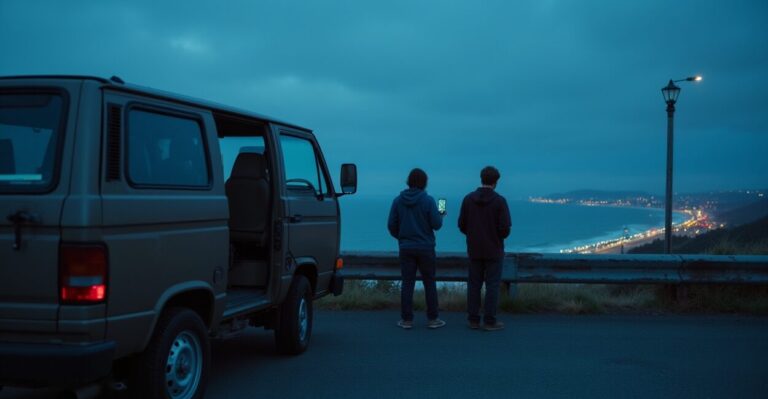
Expectation: a panoramic vista after a short walk. Reality: uneven steps, narrow platforms, crowded viewpoints and inaccessible fences. That mismatch is common. I once watched a family reach a famous overlook and fail to get close because of a single flight of steps — their toddler cried, a grandparent turned back, and half the group stayed on the path. The overlook delivered a photo for a few, but denied shared access. Traditional overlooks often prioritize view prestige over human access.
How Sightlines and Proximity to Facilities Affect Comfort
Sightlines are not just about what you can see but how comfortably you can see it. A person seated or using a cane needs clear viewing slots and bench spacing; families need nearby toilets and picnic tables. Accessibility that ignores services is incomplete. Consider two routes: one with an accessible platform but restrooms 800 meters away, another with slightly steeper ramps but facilities within 50 meters. For many families and older adults, the second is the better choice. Convenience amplifies enjoyment more than a few extra meters of scenery.
Design Trade-offs: When Accessible Beats Dramatic — And Why
There are hard choices: the most dramatic cliff edge may be reachable only by switchbacks and steps, while a slightly lower plateau offers full accessibility. The trade-off is clarity: do you want the “wow” photo from an exclusive ledge or a shared, relaxed experience? For inclusive planning, the accessible viewpoint usually wins because it delivers social value — more people linger, take photos together, and use facilities. A surprising reality: accessible platforms often host longer stays and better sunset-watching reviews.
Common Mistakes to Avoid When Choosing Routes
People assume “shorter equals easier” — a mistake. Here are errors I see all the time:
- Ignoring surface quality: Packed dirt is not the same as a firm, wheelchair-friendly path.
- Underestimating distance to facilities: Toilets and parking matter, especially with kids or medical needs.
- Overlooking sightline blocking: Benches, signs, or vegetation can ruin a viewpoint.
- Assuming one ramp fits all: Slope, rest platforms, and railing design vary in suitability.
A Simple Decision Framework for Picking the Right Route
Use this quick checklist before you lace up:
- Access surface: paved or firm-packed?
- Slope and ramps: meet 1:12 or gentler?
- Sightlines: low rails or viewing slots?
- Facilities: restroom and parking within 100–200 meters?
- Family needs: stroller space, seating, shade?
Want an extra nudge toward reliable sources? Many parks post accessibility guides online; for design standards see the U.S. Department of Justice ADA guidance, and for best practices in outdoor sites the National Park Service accessibility page has practical checklists.
Choose the route that gives the whole group the view, not just the fastest photo. That single choice turns a visit into a shared memory.
What is the Minimum Ramp Slope I Should Look For?
Look for a ramp slope of 1:12 or gentler whenever possible — that means one inch of rise for every 12 inches of run. This ratio is widely accepted because it balances distance with effort and is manageable for most manual wheelchairs, scooters, and people using canes or walkers. In longer runs, designers often add level resting platforms every 30–50 feet to reduce fatigue. If you see a steeper slope, check for alternate routes or ask park staff about assistance options.
Can a Viewpoint Be Accessible Without Paved Paths?
Yes, but it depends on surface firmness and maintenance. A well-compacted, tightly bound stone dust path can be accessible for many users if it’s stable, well-drained, and free of large gaps. However, loose gravel, deep sand, or uneven roots usually make a route inaccessible to wheelchairs and difficult for strollers. Look for descriptions that mention “firm and stable surface” or photos showing flat pathways. If in doubt, contact the site for specifics about mobility device accessibility and alternatives.
How Far Should Parking and Toilets Be from the Viewpoint?
Shorter distances make outings far more comfortable for families, older adults, and people with disabilities. Ideally, parking should be within 100–200 meters of the viewpoint, and accessible restrooms within a similar range. Longer distances increase the need for rest areas, benches, and shade. If a landmark lists parking far away, check whether there are shuttle services or closer accessible spots. Proximity to services often matters more than a tiny bit of extra elevation when choosing a route.
Are Viewing Rails and Cutouts Really Necessary?
Yes — thoughtfully designed rails make the difference between viewing and watching from afar. A solid high railing can block sightlines for seated visitors; cutouts or lower sections allow eye-level views while maintaining safety. Additionally, rail height, handgrip shape, and gaps for camera lenses or binoculars all influence usability. When you evaluate a site, notice whether rail design lets someone seated see over it comfortably or forces them to stand for a decent view.
How Can I Tell If a Viewpoint Will Be Crowded or Family-friendly?
Look for clues in visitor photos, reviews, and official site notes. Family-friendly viewpoints usually mention benches, picnic areas, stroller access, and nearby restrooms. Crowded, high-traffic overlooks often have narrow platforms and multiple warning signs. Time-of-day and season matter: sunrise/sunset spots fill fast. If you want fewer people and more space for mobility devices, consider visiting during weekday mid-mornings or choosing an accessible alternative viewpoint nearby that trades dramatic height for room and services.