
Warning: Cannot modify header information - headers already sent in /home/u278635817/domains/mymorninglife.com/public_html/wp-content/plugins/artigosgpt/artigosgpt.php on line 29509
Warning: Cannot modify header information - headers already sent in /home/u278635817/domains/mymorninglife.com/public_html/wp-content/plugins/artigosgpt/artigosgpt.php on line 29509
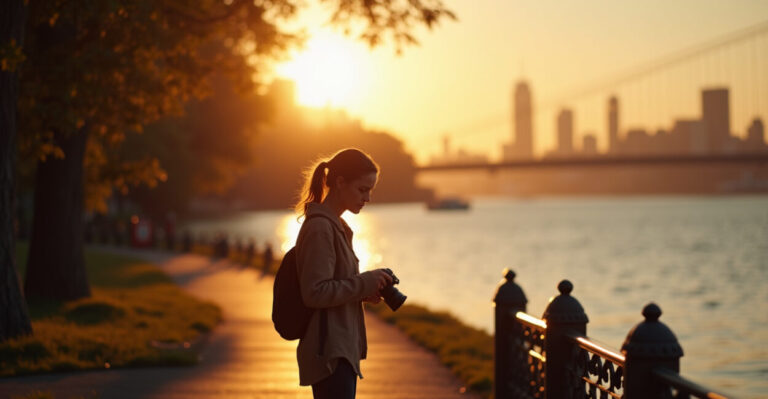
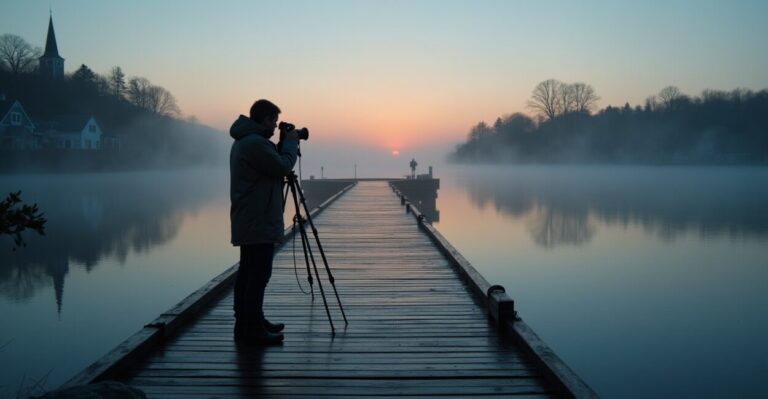
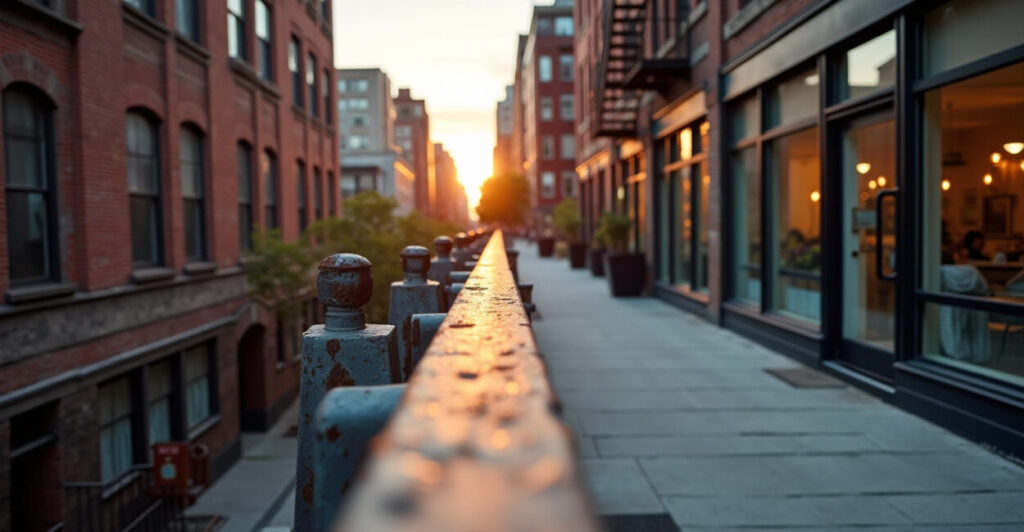
You stop mid-scroll because the photo looks like a memory and a discovery at once: a slice of the city framed by steel, grass, and a surprising ribbon of sunlight. That’s the magic of High Line views — they reward the curious shooter who moves one step left, crouches, or waits five minutes for the light to shift. Below are composition ideas that go beyond postcards: where to stand, which focal lengths work, and the best time of day to try each shot.
Layered Cityscapes: Stack Foreground Plants over Architecture
Layering turns flat skyline shots into scenes with depth and feeling. Stand near the Chelsea Market stairs where grasses meet rooftops. Use a 35mm–50mm lens on full-frame (or 24–35mm on APS-C) to include foreground plants and background towers. Shoot low—knees bent—so the vegetation slices across the lower third. Early morning or golden hour softens highlights on glass and brings out texture in the foliage. Wait for a breeze pause; movement in the foreground can blur into a painterly veil if you use 1/125s or slower.
Leading Lines That Pull the Eye Into an Unexpected Corner
The High Line’s rails, pathways, and walls make near-perfect leading lines. Stand where the walkway curves—near 10th Ave Square is ideal—and use a 24mm (wide) to exaggerate the bend. Align rails, benches, or planting beds so they converge on a distant subject: a street mural, a window reflection, a person. Midday can be harsh, but it also makes strong shadows that amplify lines. Try shooting just after rain: wet surfaces add glints that extend your lines like arrows toward the frame’s focal point.
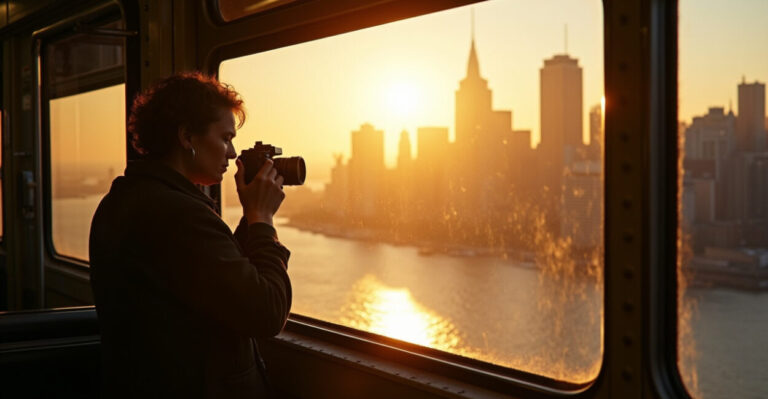
Vertical Slices: Getting Intimate with Façades and Reflections
Tight vertical frames reveal details most postcards ignore. Move to the High Line’s narrow stretches near Gansevoort and use a 85mm–135mm lens to isolate building details and mirrored windows. Shoot near sunset when windows catch warm tones; reflections then act like secondary canvases. Crop as a vertical strip and let textures—brick, rust, glass—tell the story. This is where a short focal length fails: you want compression to make layers feel stacked and intentional, not jumbled.
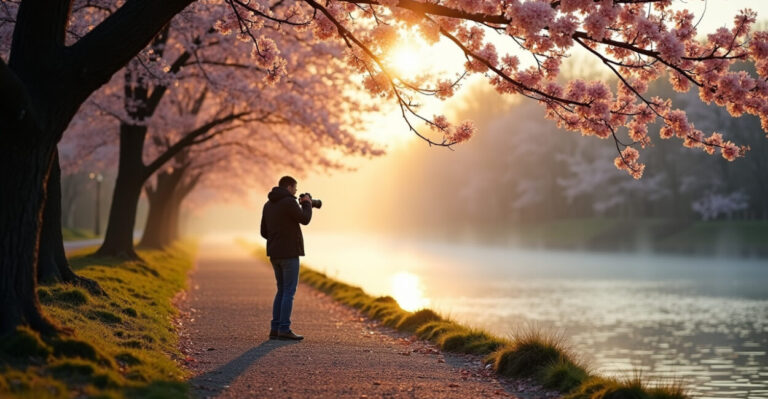
Seasonal Blooms as Color Anchors (and Where They Hide)
Flowers are not just pretty—they’re color anchors that organize a frame. In spring and summer head to the section between 14th and 16th Streets for tall grasses and perennials. Use a 50mm for a natural field-of-view or a 70–200mm to isolate clusters. Early morning brings dew and soft light; late afternoon brings saturation. Notice how color shifts—reds recede, yellows pop. Don’t assume blooms sit center stage: compose so the flowers balance a distant skyscraper or passerby, creating a dialogue between nature and city.
People as Scale: Candid Portraits That Show How Big the City Feels
Including a person changes a skyline from pretty to human-sized. Sit near seating areas—around the Diller–von Furstenberg Sundeck—and use a 35mm for environmental portraits or 85mm for tighter frames. Shoot at eye level for intimacy or lower for heroic silhouettes. Golden hour provides flattering rim light; cloudy days soften skin tones for emotive portraits. Watch common mistakes: placing subjects dead-center, shooting from too far away, or ignoring background clutter. Instead, position people where lines or blooms point to them.
Expectation Vs. Reality: The Surprising Comparison That Teaches Faster
Before: a flat skyline. After: layered story with a foreground voice. Try this quick test: stand at the same spot twice. First, shoot a “postcard” wide shot at noon with a 24mm. Then, wait for golden hour and take a layered shot using a 50mm with a plant in the foreground and a passerby as your human anchor. The comparison teaches three things fast—light matters most, focal length changes narrative, and small foreground choices make scenes feel three-dimensional. Keep both; the contrast trains your eye.
What to Avoid (errors Most People Repeat)
Knowing what not to do speeds improvement more than copy-paste tips ever will.
- Don’t assume the best viewpoint is the park center—edges and steps hide better angles.
- Don’t always use auto aperture—control depth to separate layers.
- Avoid shooting straight into noon sun without a plan; it flattens texture.
- Don’t clutter frames with too many moving people; sometimes patience is the tool.
- Never ignore scale—without a human or object, large structures can feel abstract.
Small moves matter: one step left, a lens change, or five minutes’ wait often turn an okay image into one people stop to study.
Want references? The High Line has seasonal planting plans and park maps on the official site: NYC Parks – High Line. For context on urban landscapes and design, read guides on cultural landscapes at the National Park Service: NPS Cultural Landscapes.
Take one idea, pick a lens, and make a rule: stay five minutes longer than you planned. The High Line rewards patience.
Where’s the Best Single Spot to Start Practicing These Compositions?
The best spot to start is the 10th Avenue Square area because it serves as a practical playground for lines, layers, and people. From this vantage you can shoot the curving walkway, bench lines, and adjacent architecture without walking far. Use a 24–35mm to practice leading lines and a 50mm to test foreground layering. Sunrise or golden hour offers softer light and fewer crowds, which helps you focus on composition rather than juggling strangers. Spend 20 minutes here and you’ll see distinct framing opportunities.
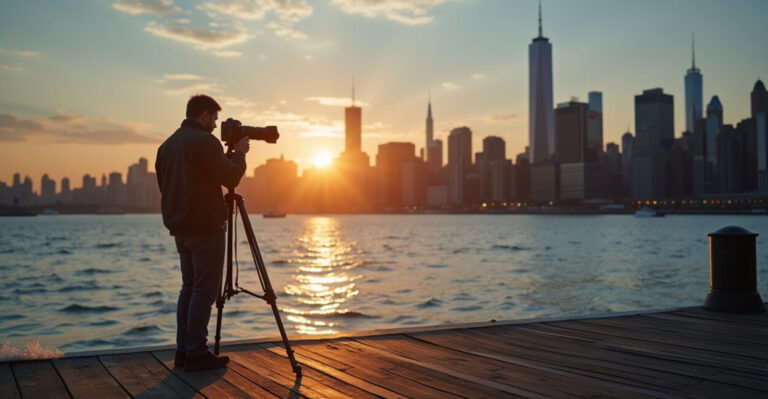
What Focal Lengths Should I Pack If I Want to Try All Seven Ideas in One Visit?
Pack three versatile lenses: a 24–35mm for wide leading lines and context; a 50mm for natural, layered shots and midday portraits; and an 85–135mm or a 70–200mm zoom for vertical slices, compression, and isolating blooms. This trio covers everything from sweeping vistas to intimate details. If you only have one zoom, a 24–70mm covers most bases. Bring a small tripod or monopod for low-light golden hour shots and slower shutter experiments near grasses and reflections.
How Do I Shoot the Seasonal Blooms Without Flattening the Scene?
To avoid flat flower shots, create depth: place a bloom in the foreground, a midground subject (bench, person), and a background building. Use a moderate aperture (f/4–f/8) so the foreground has presence but the midground remains legible. Stand low and use a 50mm or 85mm to compress the layers slightly. Light matters—shoot in the hour after sunrise or before sunset for warm directional light. And be patient: a mild breeze can ruin sharp flowers; wait for a lull or increase shutter speed accordingly.
Are There Times When Composition Rules on the High Line Should Be Broken?
Yes—break rules on purpose when the frame’s emotion demands it. For example, harsh midday light often flattens texture, but it can create strong graphic shadows that suit high-contrast, black-and-white work. Wide-angle distortion can feel awkward, yet it also produces dynamic, exaggerated perspectives that scream “city energy.” The key is intent: break rules because you want the effect, not because you’re rushing. After you practice the conventions, deliberate breaks become creative statements, not accidents.
How Do I Avoid Permission or Privacy Issues While Photographing People on the High Line?
Respect and simple etiquette go far. If you’re photographing identifiable individuals close-up, ask for permission. For candid shots where people are small in-frame, you generally don’t need consent in public spaces, but be mindful of sensitive moments. Avoid filming children without guardian permission. If someone objects, offer to delete the image or show it first. Carry a quick business card or social handle; honest, polite photographers usually get cooperation and sometimes a smile that improves the image.