
Warning: Cannot modify header information - headers already sent in /home/u278635817/domains/mymorninglife.com/public_html/wp-content/plugins/artigosgpt/artigosgpt.php on line 29509
Warning: Cannot modify header information - headers already sent in /home/u278635817/domains/mymorninglife.com/public_html/wp-content/plugins/artigosgpt/artigosgpt.php on line 29509
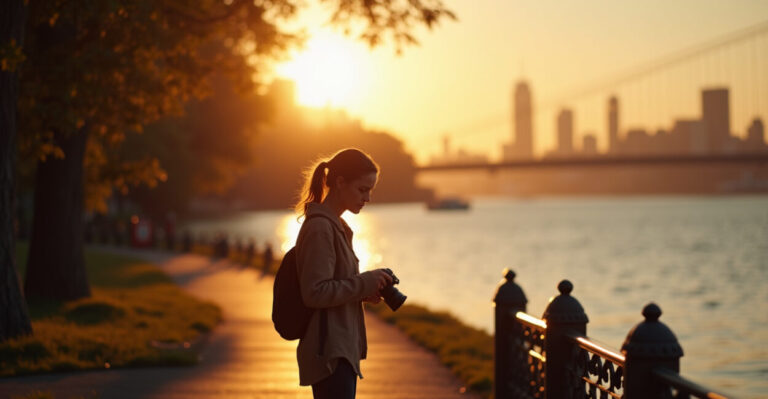
You’ve scrolled past glossy sunrise reels and felt that ache: a dawn shot nobody else has. That hunger — to stand alone where light splits water — is exactly why you’re here, hunting hidden piers that change everything.
I’m going to show you five small-town piers that morph at sunrise into reflective mirrors, moody silhouettes, and cinematic lead lines. No fluff — GPS-style directions, ideal focal lengths, and timing notes. Think of this as a secret map for photographers who refuse tourist postcards.
Expectation: you’ll leave with locations, lens picks, and a plan to be there before the light betrays you. Angle: what photographers don’t realize destroys great dawns — and how to fix it fast.
Hidden Piers That Transform at Sunrise — The Discovery Nobody Told You
Pense comigo: a pier that looks dead in daylight becomes a glass runway at 20 minutes before sunrise. That’s the secret most guides hide. Hidden piers are about angle, tide and being in the right place when the sky melts.
Why Almost Everyone Shoots the Wrong Angle
Most photographers frame directly down the pier. That flattens reflection. Instead, move 10–30 feet left or right to catch the oblique reflection and the elongated sunrise colors. Now comes the payoff: dramatic water texture and a layered silhouette.
- Look for low-angle wind (calm = mirror).
- Scout for perpendicular shorelines (adds reflection).
- Prefer the half-hour window around astronomical sunrise.
Small checklist, big difference: these three points decide whether your shot is ordinary or viral.
Seabrook Landing, NH — The Mirror That Appears for Twenty Minutes
GPS-style: 42.9806, -70.8675. Park near the municipal lot; walk the boardwalk to the leftmost pier. Arrive 25–15 minutes before sunrise.
Framing and Focal Length
Use 24–70mm for versatility; 35mm for intimacy; 50–85mm to isolate the pier against the sky. Lower your tripod to 18–24 inches for maximum reflection.
- Best tide: mid-ebb for glass pockets.
- Timing: 25–10 minutes before official sunrise.
- Gear: 3-stop ND for soft water when needed.
Seabrook’s payoff is pure reflection. If the wind drops, the pier duplicates itself — that’s when you press the shutter.
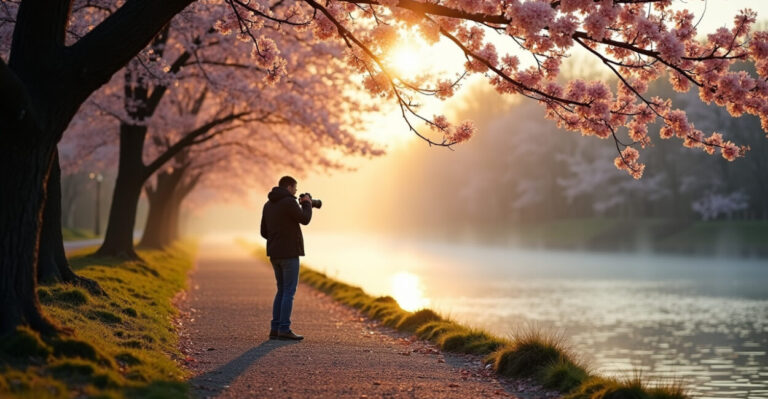
Old Mill Wharf, ME — Moody Silhouettes and Fog Pockets
GPS-style: 43.6590, -70.2479. Small gravel lot, then a five-minute walk along the marsh; the pier hides behind a small wooden fence.
Hidden Piers in Fog: What to Look For
Fog eats detail and reveals shape. Use 85mm–135mm to compress layers; raise ISO modestly to capture contrast in low light. The pier becomes a silhouette against peeled-away light — haunting and cinematic.
- What to avoid: shooting from the road — you miss foreground reeds.
- Best practice: bring a lens hood; fog creates unpredictable flares.
Reeds and marsh blur in the foreground, giving you a painterly frame that screams editorial. That’s the secret editorial look few get right.
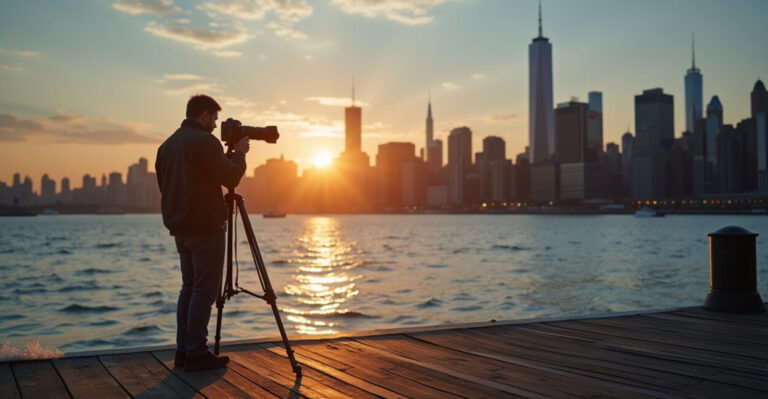
Harbor Bend Pier, CT — The Golden Wedge and Glass Lanes
GPS-style: 41.3213, -72.2227. Park at the Harbormaster lot, then follow the wooden path north for two minutes. Arrive 30 minutes early to pick your angle.
Timing Notes and Composition Tricks
Golden wedge: when sun peeks above the horizon, it creates a strong diagonal of light. Use 24mm for expansive scenes; drop to 20mm for dramatic leading lines. Capture bracketed exposures for HDR when the dynamic range is wide.
| Element | Recommended |
|---|---|
| Focal length | 24–70mm |
| Tide | High-slab reflection |
| Timing | -20 to +5 minutes around sunrise |
The table helps you decide fast: gear, tide, timing — one glance and you know what to pack.
Maple Harbor Jetty, RI — The Unnoticed Diagonal That Sells Prints
GPS-style: 41.5446, -71.4636. Street parking by the diner; walk the stone path toward the old jetty. The best view requires a short scramble left of the official pier.
Light Behavior and Lens Choice
Use 35mm to 50mm for strong foreground detail and compressed background. When the sun hits the water, angles change every five minutes — plan for quick re-composition.
- Common errors: waiting for full sun — then you lose reflection.
- Pro move: set a 2-minute intervalometer sequence during the first light.
Short bursts catch that exact millisecond when the water becomes a silver sheet. Do this and your image will feel like a stolen moment.
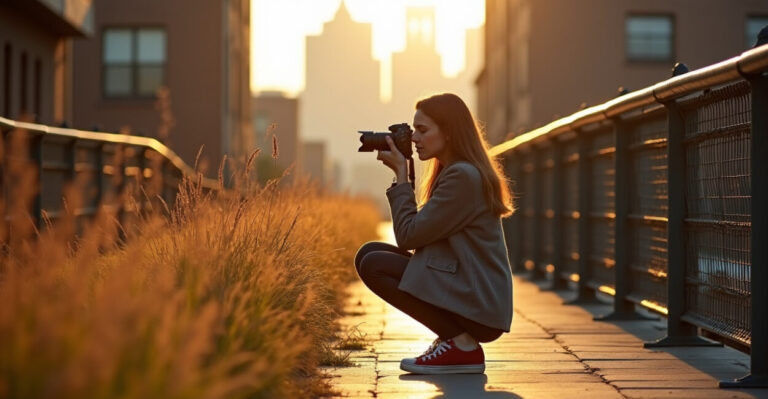
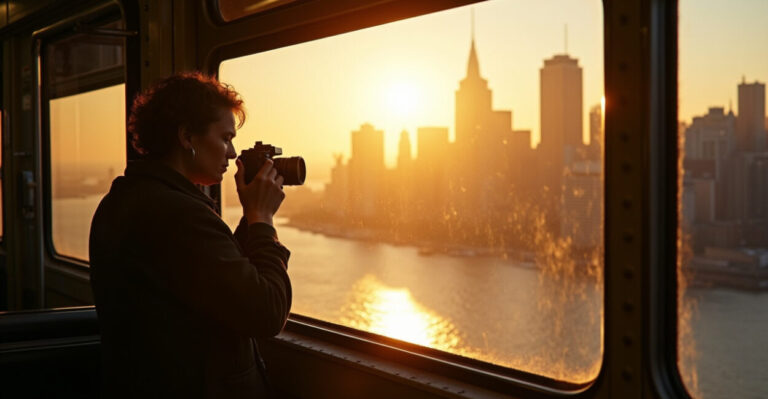
Brighton Cove Pier, NY — Late-urban Dawn Without the Crowd
GPS-style: 40.6892, -73.9800. Small residential street; leave the car two blocks away to avoid attracting attention. Sunrise here hits the pier at a soft angle, perfect for silhouettes.
Secret Approach and Ethical Scouting
Respect private property. Walk quietly and minimize setup time. Use a 70–200mm to compress and isolate shapes from the city glow. You’ll get moody silhouettes with almost zero human clutter.
Micro-story: I once arrived at Brighton Cove during a November dawn. A local fisherman nodded, handed me a single cup of hot coffee, and walked away. That silent generosity bought me ten minutes of perfect light — and a frame I still print.
Gear, Timing, and the Three Rules That Save Dawn Shoots
Now comes the point-key: the three rules most skip and regret. Follow these and you’ll capture the transform moments every time.
- Rule 1: Be early — arrive 30–20 minutes before sunrise.
- Rule 2: Scout angles during blue hour, not at golden hour.
- Rule 3: Pack for change — three focal lengths and a remote trigger.
These aren’t suggestions. They’re habits that separate keepers from misses. Adopt them and the piers reward you.
Need tide charts or official sunrise data? Check NOAA for tide predictions and the US Naval Observatory for sunrise times to plan precisely. NOAA Tide Predictions and USNO Sunrise/Sunset are the authorities. For regional travel rules, consult local town pages like USA.gov Local Governments.
What to Avoid — Common Mistakes That Kill Pier Sunrises
- Arriving at official sunrise — you miss the best light.
- Shooting only one angle — reduces your chances of a unique frame.
- Ignoring tide and wind — reflections depend on both.
Each mistake narrows your chance for a standout shot. Avoid them, and you’ll be the one making editors and feeds stop scrolling.
You now have five secret piers, GPS points, lens plans, and the timing rules pros use. Use them and you’ll beat the crowds without needing permission.
Go there before the world wakes. Witness the short window of magic and bring back something that feels stolen — because it will be your private dawn.
FAQ: How Long Before Sunrise Should I Arrive?
Arrive 20–30 minutes before astronomical sunrise to catch blue hour and the early reflective window. This gives you time to scout angles, set up low tripod positions, and test exposures. If you expect fog or tidal drama, push to 40 minutes early. The earlier window is where most dramatic reflections appear.
FAQ: What Lenses Work Best on Hidden Piers?
Bring a wide (20–35mm) for expansive leading lines, a 35–70mm for balanced compositions, and a 70–200mm to compress and isolate silhouettes. Prime choices: 35mm for intimacy, 50mm for portrait-like framing, and 85–135mm for dramatic separation. Change quickly as light shifts every five minutes.
FAQ: Are There Legal Issues or Permits for Shooting?
Most small-town piers are public, but private docks may require permission. Check local municipal sites for access rules and parking restrictions. When in doubt, contact the town clerk or harbormaster listed on the municipal website. Respect private property and leave no trace — that protects future access for photographers.
FAQ: How Do I Capture Reflections When Wind Picks Up?
When wind disturbs the water, switch strategies: use longer focal lengths to compress and minimize ripple, increase shutter speed to freeze texture, or bracket exposures for blending. Neutral density filters can help with creative long exposures. If reflections vanish, focus on silhouette shapes and color gradients instead.
FAQ: What Are Quick Composition Checks Before You Press the Shutter?
Check horizon level, foreground anchors, and where the brightest highlights will fall. Use live view to preview reflections and confirm focus point on the nearest pier planks. Lock exposure with an ETTR trick on the sky if you want richer tones, then dial back in raw. Final check: no distracting objects crossing the pier lines.